
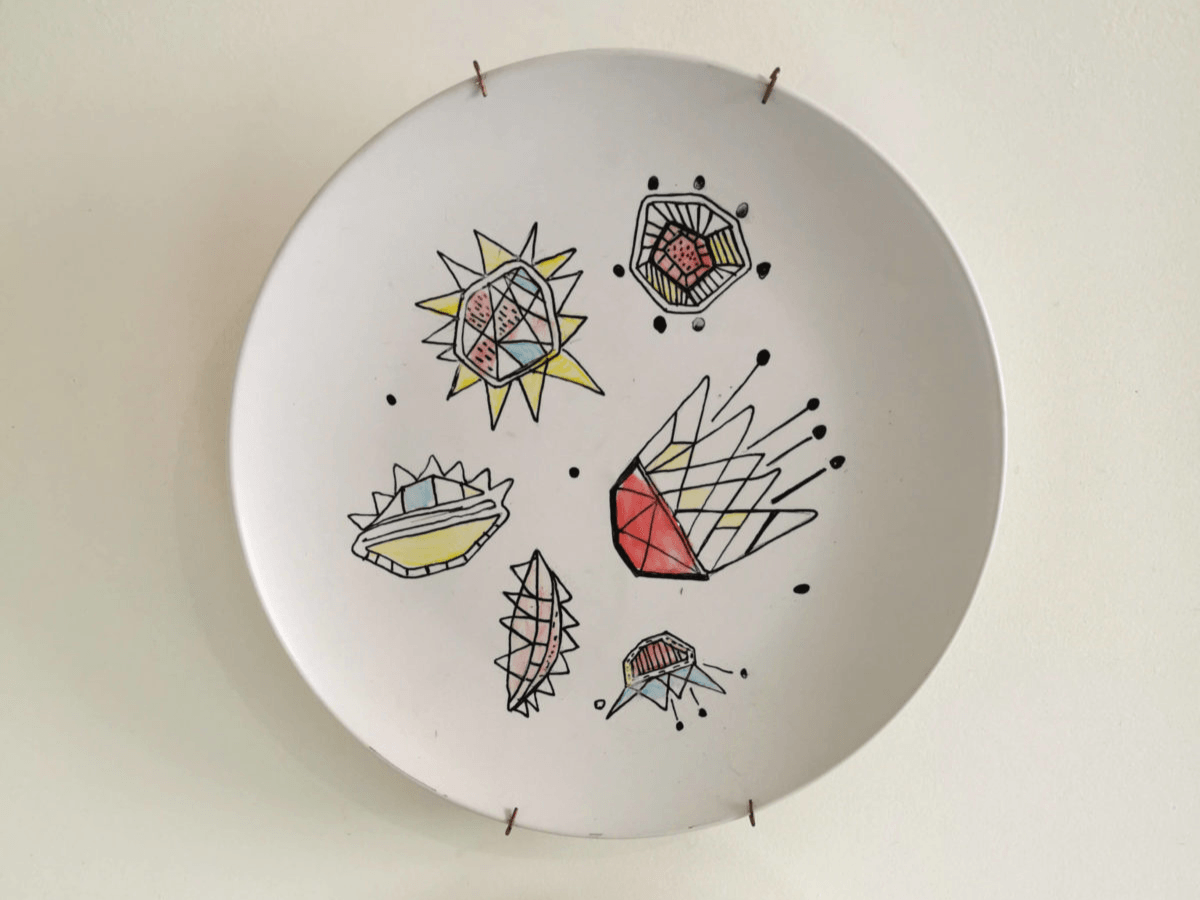
Step by step: how to create a decorative art plate
Create your own boldly decorative, graphic plates for display using Tri-Art Paint Markers and Liquid Glass Pouring Colours. These designs are based on some retro fabric patterns. What is old is new in this case.

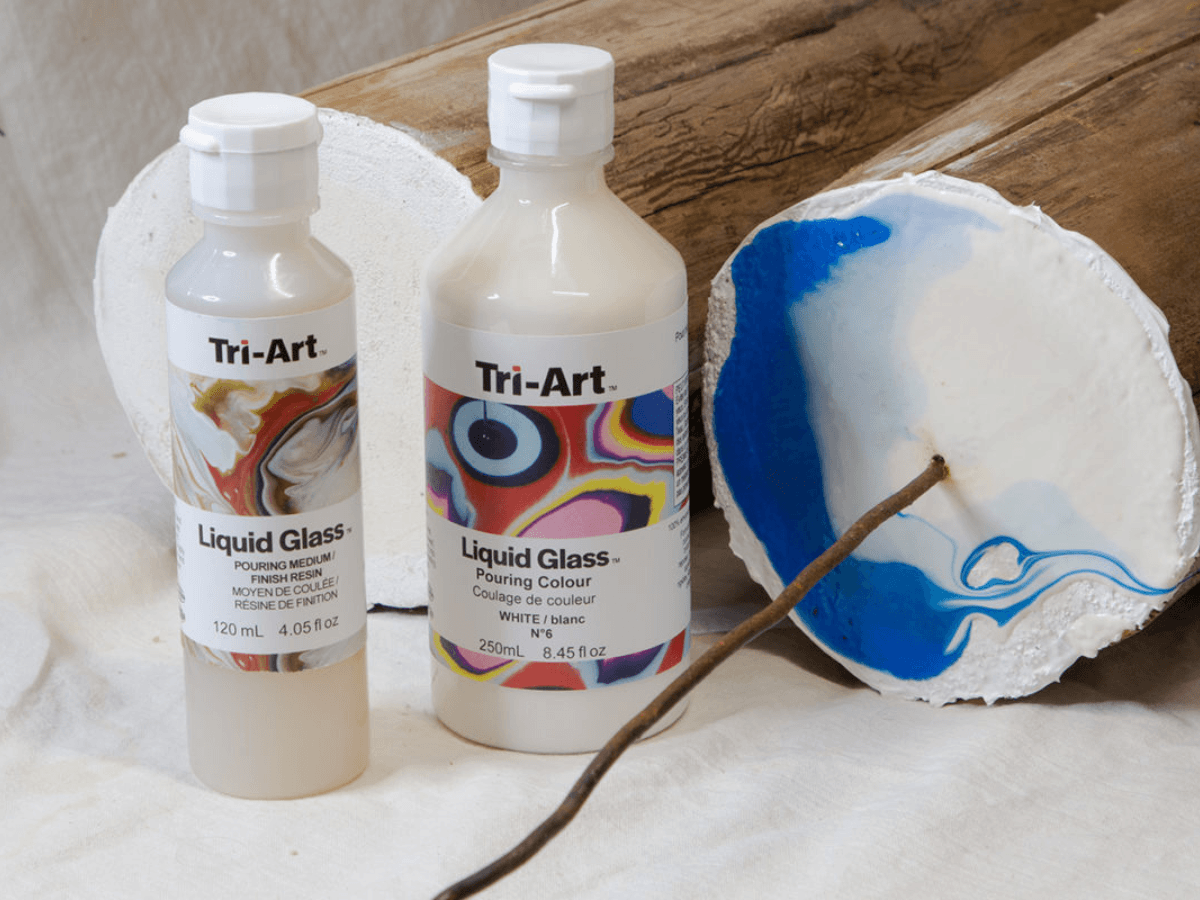
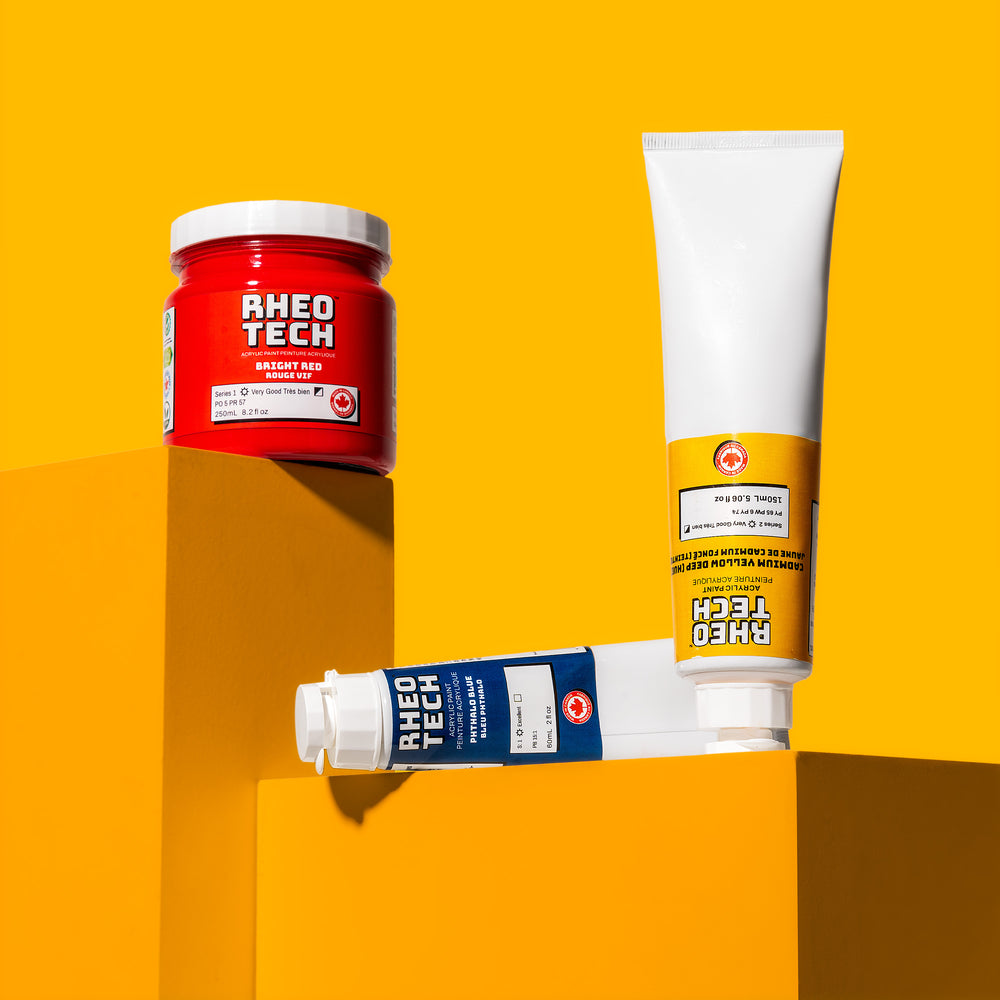
You will need a plate, a pencil, and these products:


STEP 1
Create your pattern. This may be done by cutting out shapes and tracing with pencil onto the plate, or drawing your shapes and patterns directly onto the plate. A matte plate finish should allow for using an eraser to correct errors or for making refinements.


STEP 2
Use the Fine Art Paint Markers to paint the lines or your favourite acrylic colours and a brush to create patterns and designs within the shapes.


STEP 3
Allow the paint to dry. (10-20) minutes.
Erase any pencil lines that are not needed. Be sure the paint is dry before erasing. If not, the paint will rub off. Once dry add colour using Liquid Glass. This may be painted using a brush, poured on and tilted to direct or by dipping the plate.


OPTION: Leave the pencil marks and cover pattern with Liquid Glass Pouring Resin. This is shown in the plate on the right.
OPTION: Mix a custom colour. Put into a bowl or tray. Dip the edge of the plate into the paint. Tilt and rotate the plate to accentuate the dripping movement.

Now your masterpiece is ready to hang! Share yours with us on social media @triart.mfg