
Two prints in one!
Textures + Lino Block prints for a collection of surprise reveals
This simple project will give you images you could not predict. Combining lino block prints with surfaces takes printmaking to a new level.

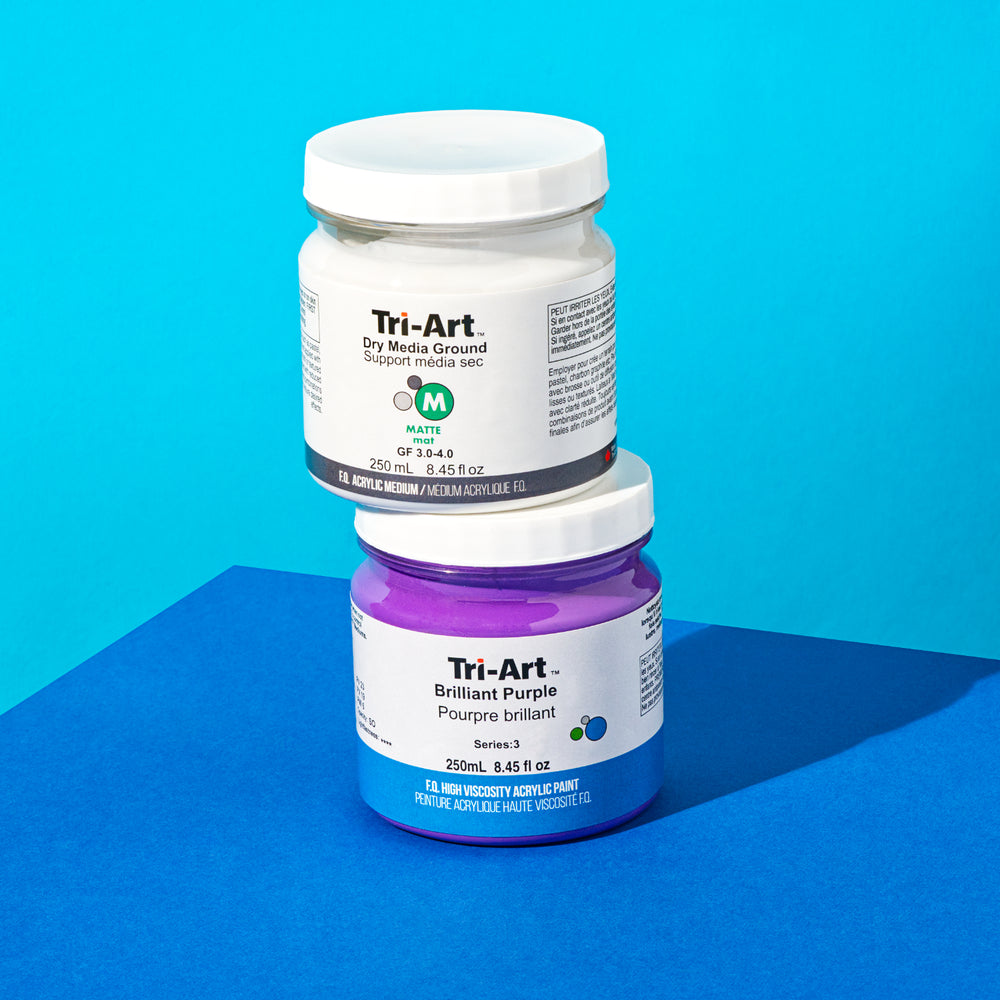
Tri-Art's Impression Printing Ink is easy to work with. The colours are strong, the tack allows for details of the surfaces to be delineated and it's a breeze to clean up.
Materials: Impression Inks: Black, Titanium White and Phthalo Blue, printing brayer/roller, test papers, inking plate, palette knife, Japanese papers, textured surfaces.
Experiment with different types and colours of papers. For these prints natural Japanese papers are used for their flexibility, absorbency, and ability to pick up details. These prints will be used to create Chine Colle prints.
Surfaces: Experiment with different surfaces. Use surfaces that have varied profile textures such as weathered wood. Surfaces with a pattern of both positive and negative areas are always fun and easy to work with.


STEP 1
Mix your custom colour ink
Mix on the inking surface or pre mix for a larger volume in a container. Once mixed let the ink rest for 10-15 minutes for the tack to build.
GOOD TO KNOW: Start with a light coloured layer and build with darker printed layers of colour.
When mixing, start with the light colour and mix in the darker colours to modify. It is easier to darken a colour than to lighten.
Avoid mixing with a brush. The ink will get embedded into the hair of the brush and will be hard to get out. A palette knife is the best tool to mix your ink colours.

STEP 2
Inking up
Layout the ink in a line across the top of the rolling surface. Use the roller to move the ink across the surface.
Make sure the ink is not too thick or it will slide and fill in the details of the textured surface . When the consistency is right "the ink will talk to you." it will have tacking sound when in contact with the roller and will resemble a suede finish on the surface.
GOOD TO KNOW:
Test the amount of ink by rolling onto a test paper. This will let you know if you have too much or too little ink on the roller. If it is too much keep rolling onto the test paper.


STEP 3
Capturing the texture details
Place the paper over the textured surface.
Run the inked brayer over the surface. It will stick to the raised areas of the textured surface beneath. Try to avoid re-rolling over the surface, this will over ink the surface details.


Expect the unexpected!
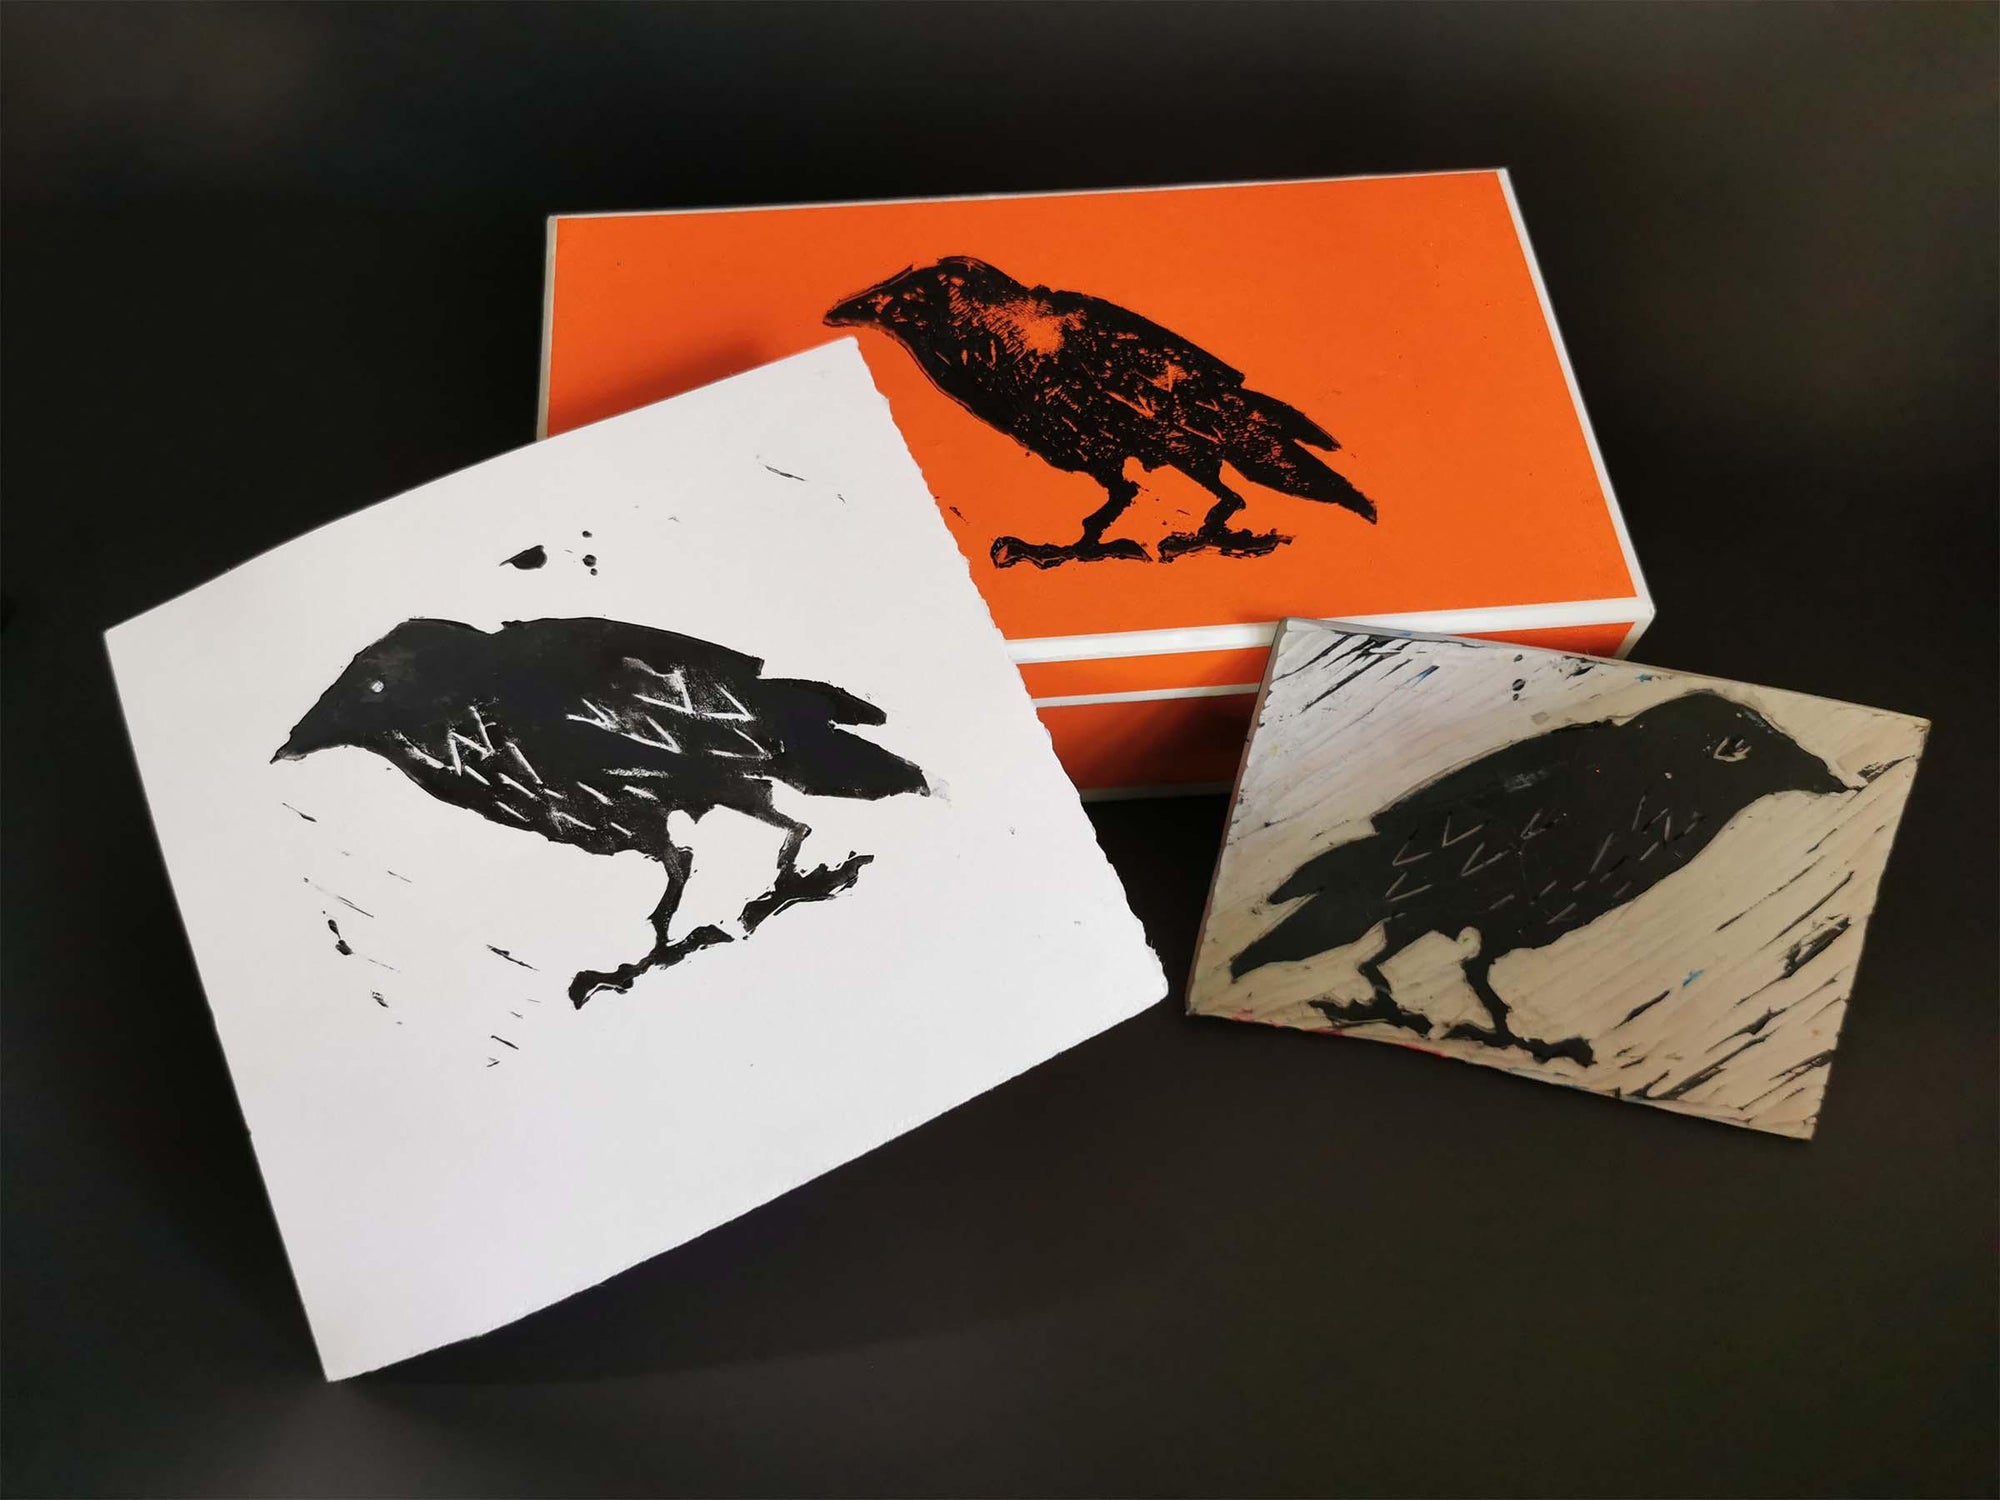
Part B - Combining the lino block prints and the texture prints

Refer to the Lino Block Blog for step by step instructions for creating a lino block print.
How to:
Ink up the lino block and place on top of the printed texture. Add pressure to the entire surface with a roller or by using your hands. Flip over and pull the paper gently from the plate.
Adding a lino print on top of the surface prints adds depth and points of interest to the prints.
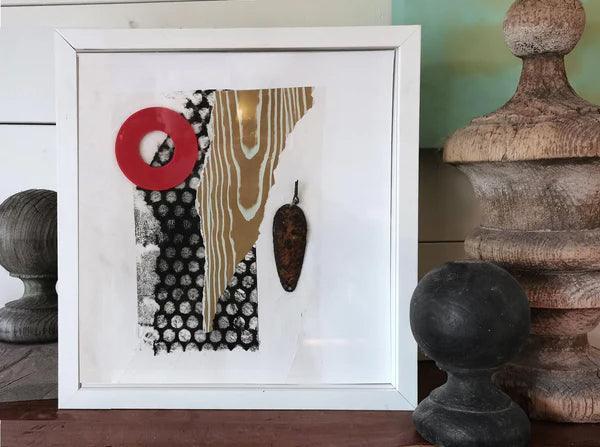
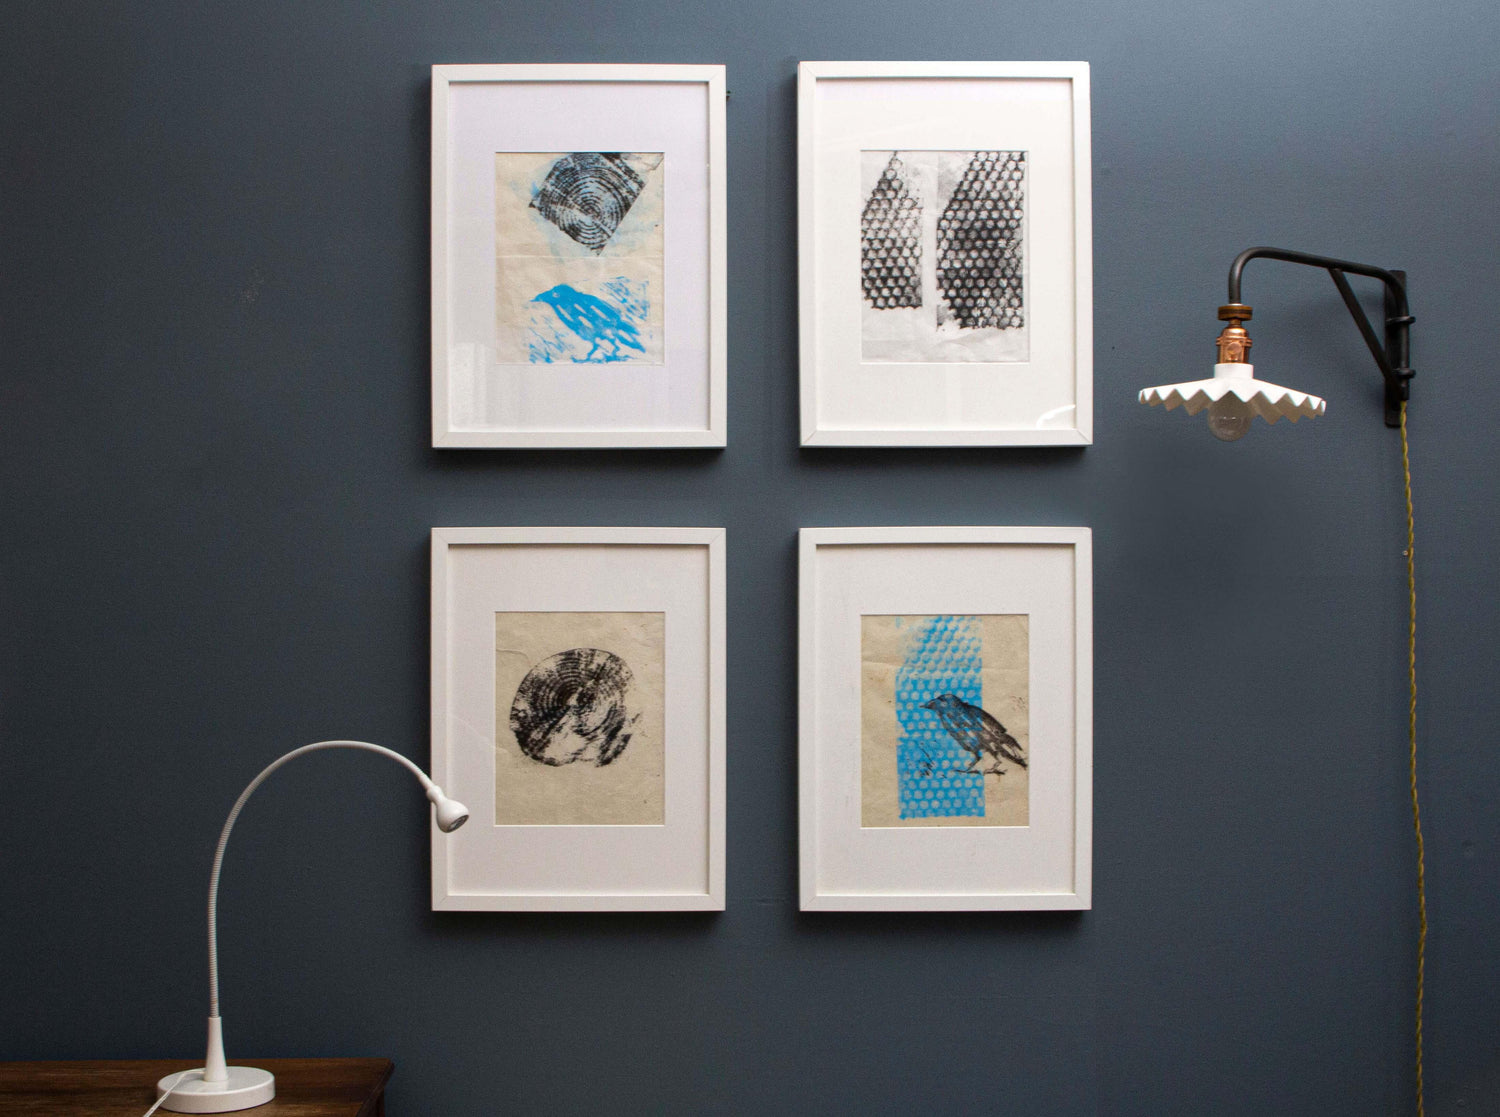
Try a number of surfaces, papers and combinations of the two printing methods. Make a collection that have a common palette of colours, surface textures or lino cut subjects. Frame your collection.